 English
- English
-
 Español
 -
 Português
 -
 русский
 -
 Français
 -
 日本語
日本語 -
 Deutsch
 -
 tiếng Việt
 -
 Italiano
 -
 Nederlands
 -
 ภาษาไทย
 -
 Polski
 -
 한국어
한국어 -
 Svenska
 -
 magyar
 -
 Malay
Malay -
 বাংলা ভাষার
 -
 Dansk
Dansk -
 Suomi
Suomi -
 हिन्दी
 -
 Pilipino
 -
 Türkçe
 -
 Gaeilge
 -
 العربية
 -
 Indonesia
 -
 Norsk
Norsk -
 تمل
تمل -
 český
český -
 ελληνικά
 -
 український
 -
 Javanese
 -
 فارسی
فارسی -
 தமிழ்
தமிழ் -
 తెలుగు
 -
 नेपाली
 -
 Burmese
 -
 български
 -
 ລາວ
ລາວ -
 Latine
 -
 Қазақша
 -
 Euskal
 -
 Azərbaycan
 -
 Slovenský jazyk
 -
 Македонски
 -
 Lietuvos
 -
 Eesti Keel
 -
 Română
 -
 Slovenski
 -
 मराठी
मराठी -
 Srpski језик
 -
 Esperanto
 -
 Afrikaans
 -
 Català
 -
 שפה עברית
 -
 Cymraeg
 -
 Galego
 -
 Latviešu
 -
 icelandic
 -
 ייִדיש
 -
 беларускі
 -
 Hrvatski
 -
 Kreyòl ayisyen
 -
 Shqiptar
 -
 Malti
Malti -
 lugha ya Kiswahili
 -
 አማርኛ
አማርኛ -
 Bosanski
 -
 Frysk
Frysk -
 ភាសាខ្មែរ
 -
 ქართული
 -
 ગુજરાતી
 -
 Hausa
Hausa -
 Кыргыз тили
 -
 ಕನ್ನಡ
ಕನ್ನಡ -
 Corsa
Corsa -
 Kurdî
Kurdî -
 മലയാളം
 -
 Maori
Maori -
 Монгол хэл
 -
 Hmong
Hmong -
 IsiXhosa
 -
 Zulu
Zulu -
 Punjabi
 -
 پښتو
پښتو -
 Chichewa
 -
 Samoa
Samoa -
 Sesotho
 -
 සිංහල
සිංහල -
 Gàidhlig
 -
 Cebuano
 -
 Somali
 -
 Тоҷикӣ
 -
 O'zbek
 -
 Hawaiian
 -
 سنڌي
سنڌي -
 Shinra
 -
 Հայերեն
 -
 Igbo
Igbo -
 Sundanese
 -
 Lëtzebuergesch
 -
 Malagasy
 -
 Yoruba
 -
 简体中文
简体中文 -
 繁体中文
繁体中文


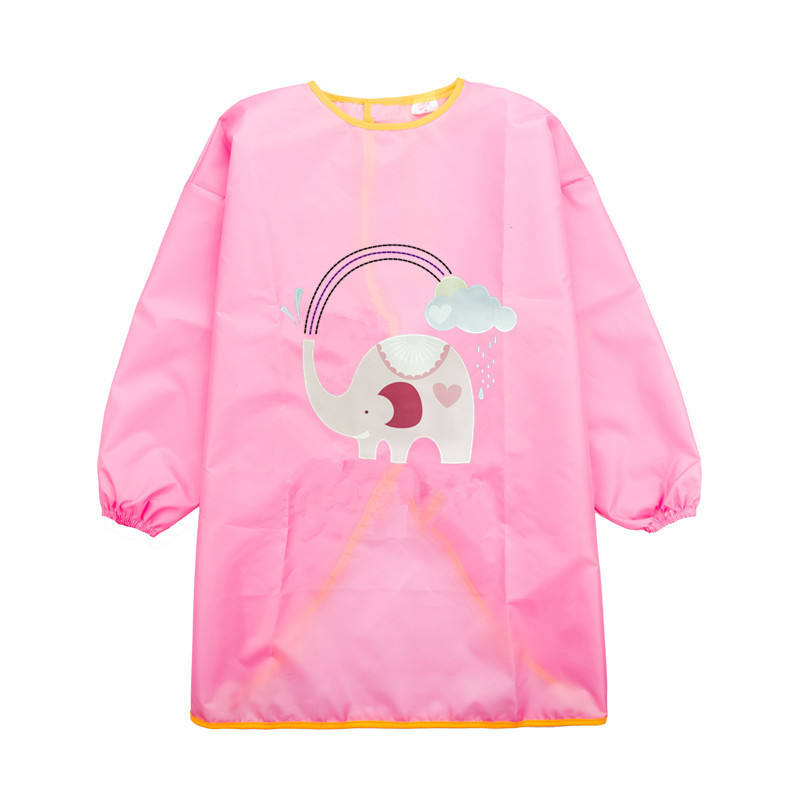
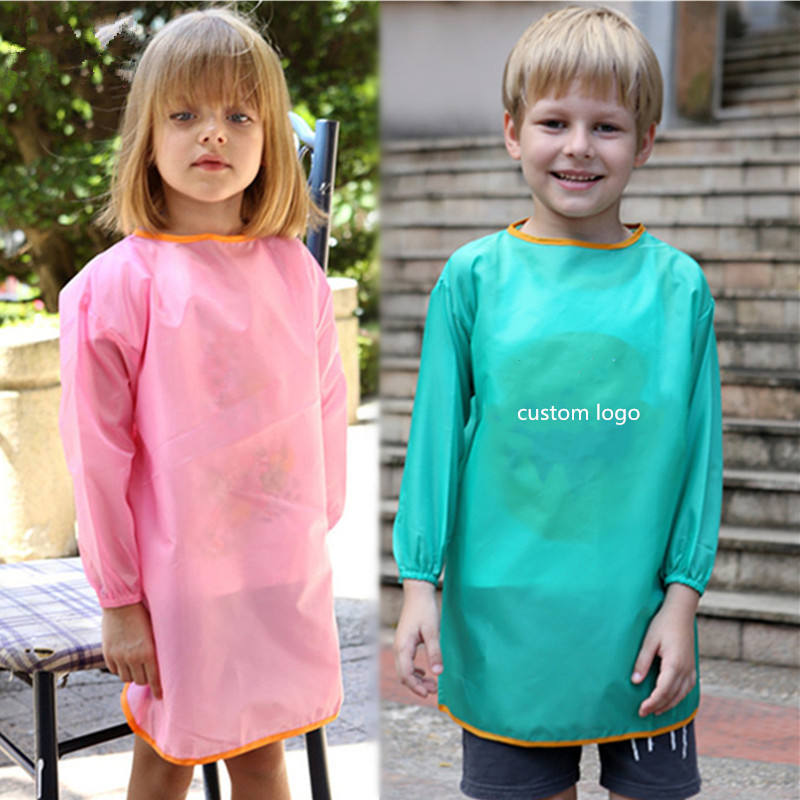
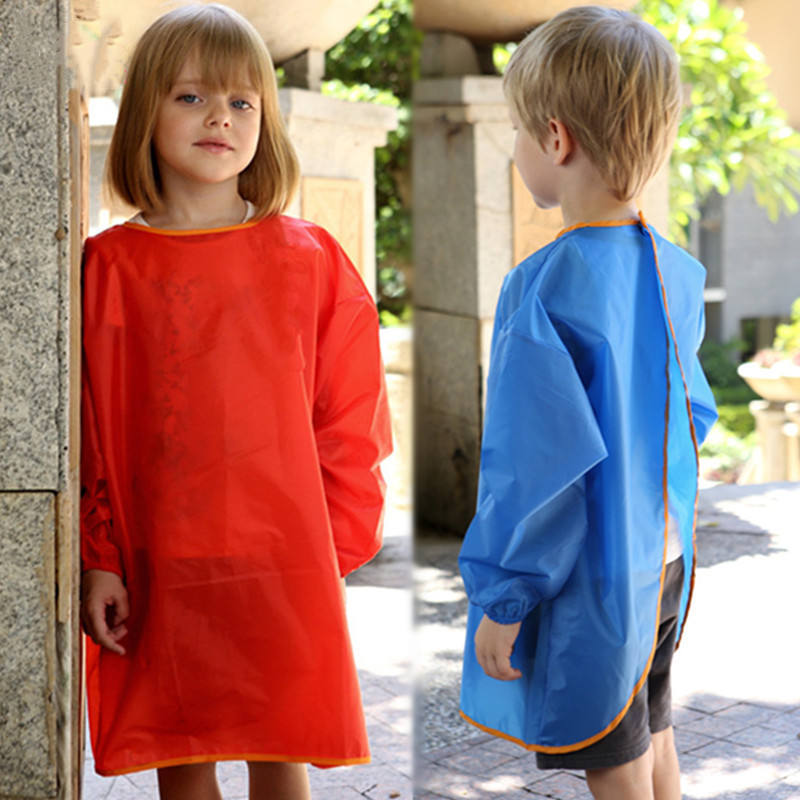
How do you make a paint apron?
2024-01-31
Making a paint apron can be a fun and creative DIY project.
Measure the person who will be wearing the apron. Determine the length from the chest to the desired length of the apron. Measure the width from one side of the chest to the other. Add a few inches for seam allowances.
Using the measurements, cut a rectangular piece of fabric. This will be the main body of the apron. Optionally, cut additional pieces for pockets or any desired embellishments.
Round off the corners at the bottom of the paint apron to create a more traditional apron shape. You can use a round object, like a plate, to trace and cut the curves.
If you want pockets, cut rectangular pieces of fabric for them. Hem the top edge of each pocket piece, then pin and sew them onto the main apron piece.
Hem the sides, bottom, and top edges of the apron. Fold the edges over twice to create a clean finish, pin them in place, and sew.
Cut two long strips of fabric for the ties. The length will depend on how you want to tie the apron—around the back or as a bow in the front. Attach these ties to the top corners of the apron.
Add any additional embellishments or decorative elements. You can use fabric paint, appliqué, or embroidery to personalize your apron.
Before finishing, have the person who will be wearing the apron try it on to ensure a comfortable fit. Make any necessary adjustments.
Sew any remaining loose edges, reinforce seams, and trim excess threads.
Wash the apron to soften the fabric and remove any fabric marker or pencil markings. Your DIY paint apron is now ready to use!
Feel free to get creative with colors, patterns, and embellishments to make your paint apron uniquely yours. This project allows for personalization and customization based on your preferences and style.


X
We use cookies to offer you a better browsing experience, analyze site traffic and personalize content. By using this site, you agree to our use of cookies.
Privacy Policy