 English
-
 English
 -
 Español
 -
 Português
 -
 русский
 -
 Français
 -
 日本語
日本語 -
 Deutsch
 -
 tiếng Việt
 -
 Italiano
 -
 Nederlands
 -
 ภาษาไทย
 -
 Polski
 -
 한국어
한국어 -
 Svenska
 -
 magyar
 -
 Malay
Malay -
 বাংলা ভাষার
 -
 Dansk
Dansk -
 Suomi
Suomi -
 हिन्दी
 -
 Pilipino
 -
 Türkçe
 -
 Gaeilge
 -
 العربية
 -
 Indonesia
 -
 Norsk
Norsk -
 تمل
تمل -
 český
český -
 ελληνικά
 -
 український
 -
 Javanese
 -
 فارسی
فارسی -
 தமிழ்
தமிழ் -
 తెలుగు
 -
 नेपाली
 -
 Burmese
 -
 български
 -
 ລາວ
ລາວ -
 Latine
 -
 Қазақша
 -
 Euskal
 -
 Azərbaycan
 -
 Slovenský jazyk
 -
 Македонски
 -
 Lietuvos
 -
 Eesti Keel
 -
 Română
 -
 Slovenski
 -
 मराठी
मराठी -
 Srpski језик
 -
 Esperanto
 -
 Afrikaans
 -
 Català
 -
 שפה עברית
 -
 Cymraeg
 -
 Galego
 -
 Latviešu
 -
 icelandic
 -
 ייִדיש
 -
 беларускі
 -
 Hrvatski
 -
 Kreyòl ayisyen
 -
 Shqiptar
 -
 Malti
Malti -
 lugha ya Kiswahili
 -
 አማርኛ
አማርኛ -
 Bosanski
 -
 Frysk
Frysk -
 ភាសាខ្មែរ
 -
 ქართული
 -
 ગુજરાતી
 -
 Hausa
Hausa -
 Кыргыз тили
 -
 ಕನ್ನಡ
ಕನ್ನಡ -
 Corsa
Corsa -
 Kurdî
Kurdî -
 മലയാളം
 -
 Maori
Maori -
 Монгол хэл
 -
 Hmong
Hmong -
 IsiXhosa
 -
 Zulu
Zulu -
 Punjabi
 -
 پښتو
پښتو -
 Chichewa
 -
 Samoa
Samoa -
 Sesotho
 -
 සිංහල
සිංහල -
 Gàidhlig
 -
 Cebuano
 -
 Somali
 -
 Тоҷикӣ
 -
 O'zbek
 -
 Hawaiian
 -
 سنڌي
سنڌي -
 Shinra
 -
 Հայերեն
 -
 Igbo
Igbo -
 Sundanese
 -
 Lëtzebuergesch
 -
 Malagasy
 -
 Yoruba
 -
 简体中文
简体中文 -
 繁体中文
繁体中文
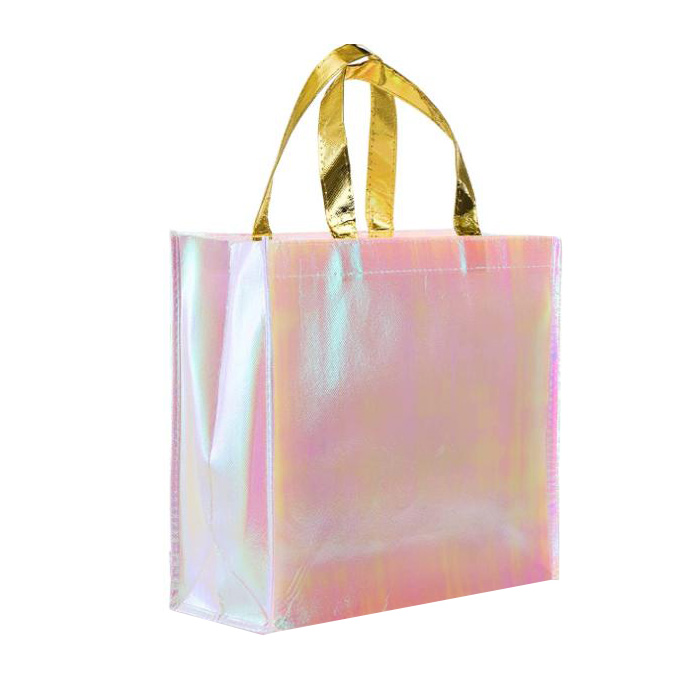
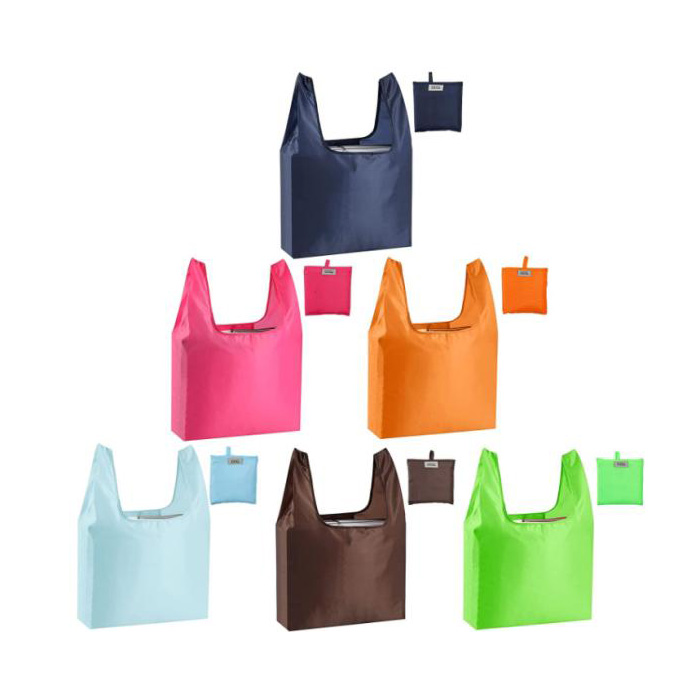
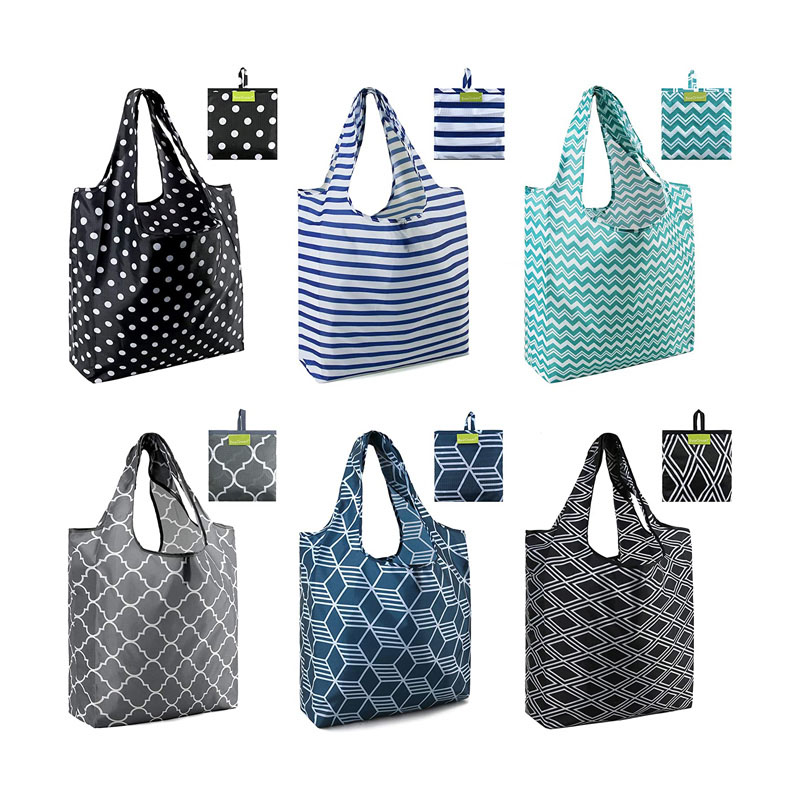
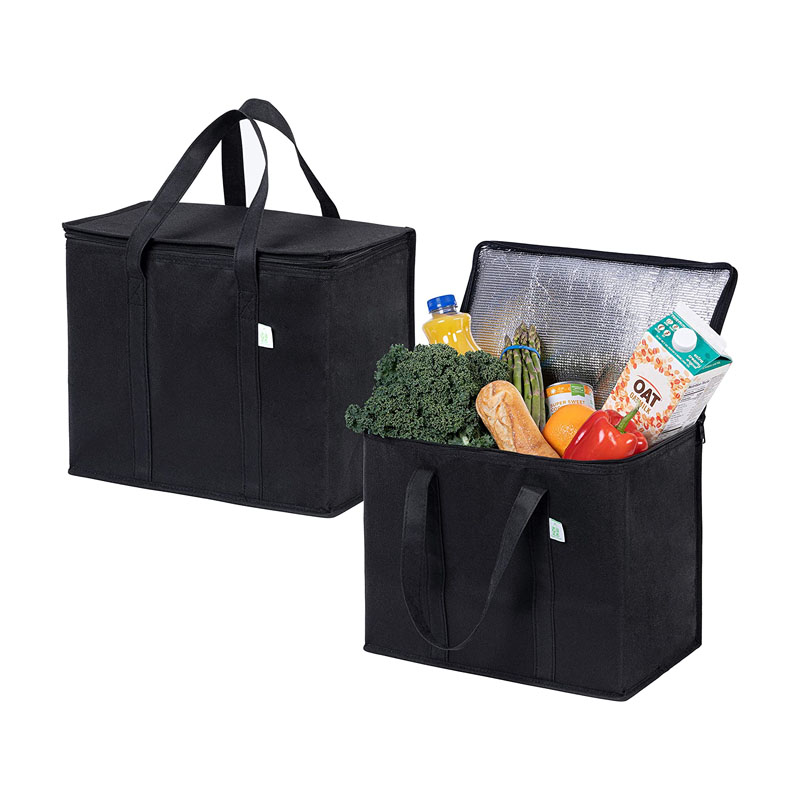
Foldable Shopping Bag With Zipper
As the professional manufacturers, Yongxin would like to provide you Foldable Shopping Bag With Zipper. And we will offer you the best after-sale service and timely delivery.
Send Inquiry
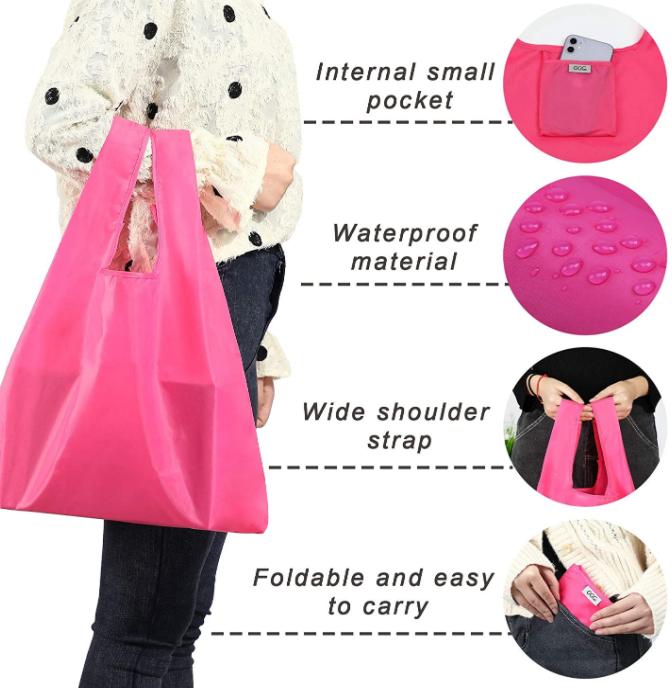
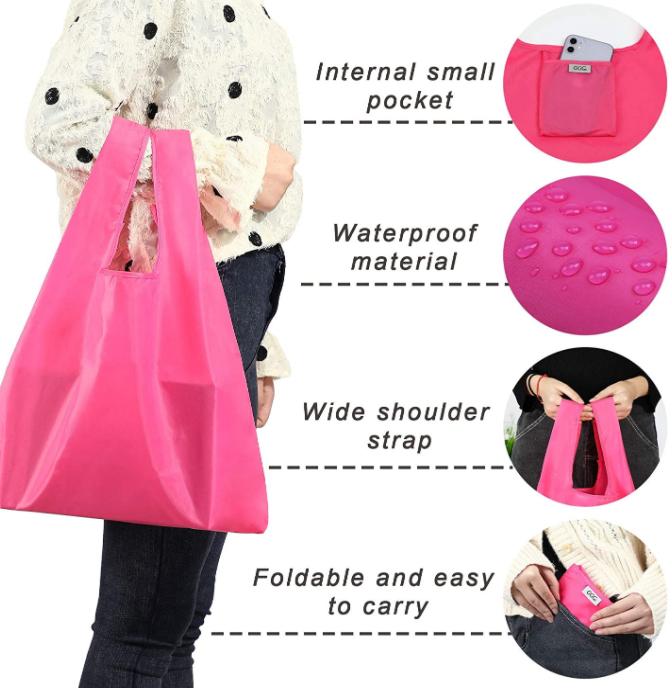
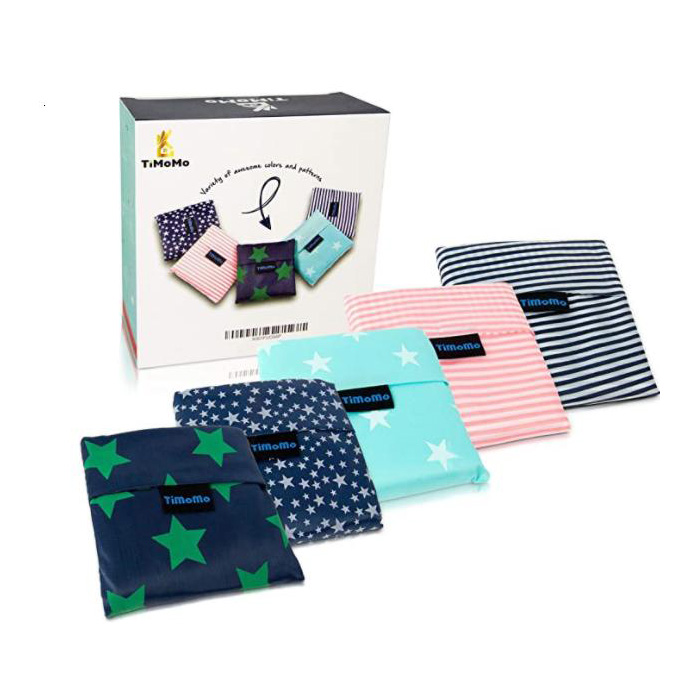
Yongxin is China manufacturers & suppliers who mainly produces Foldable Shopping Bag With Zipper with many years of experience. Hope to build business relationship with you. with the foldup design for portable convenience; It is only 5.3 x 5.3 inch when folded, but has a 25 x 15.5 inch capacity when unfolded. TiMoMo bags are made of 100 percent 210D nylon oxford polyester cloth.
Foldable Shopping Bag Feature
Strong and durable fabric (e.g., canvas, polyester)
Sewing machine
Thread
Scissors
Pins
Iron and ironing board
Zipper (choose a length that fits the top of your bag)
Velcro or buttons for optional closures
Optional: fabric for lining
Instructions:
Prepare the Fabric:
Wash and iron your fabric before starting.
Decide on the dimensions for your bag. A common size is about 15 inches wide by 18 inches tall for the main bag, with 2-inch-wide straps.
If you want to add a lining, cut the same-sized pieces from your lining fabric.
Cut the Fabric:
Cut two rectangles of equal size for the main body of the bag (or four if you're using lining).
Cut two long strips for the straps.
Optional: Cut a small square for a pocket if you want to add one.
Sew the Straps:
Follow the same steps as in the previous instructions to sew the straps.
Sew the Pocket (Optional):
Follow the same steps as in the previous instructions to sew the pocket.
Sew the Main Bag:
If using a lining, sew two main fabric rectangles and two lining fabric rectangles right sides together, leaving the top edge open.
For the main bag body, sew the two main fabric rectangles right sides together, leaving the top edge open.
If you're using a lining, turn it right side out and place it inside the main bag with the right sides facing each other. Align the top edges and pin them in place.
Add the Zipper:
Center the zipper along the top edge of the bag, with the zipper facing down (so the pull tab is inside the bag).
Pin the zipper in place.
Using a zipper foot on your sewing machine, sew the zipper to the top edge of the bag, making sure to backstitch at the beginning and end for reinforcement.
Assemble the Bag:
If using a lining, turn the bag right side out.
Pin the sides and bottom edges.
Sew along the sides and bottom with a 1/2-inch seam allowance. Reinforce the stitching at the beginning and end.
Clip the corners to reduce bulk.
If you're using a lining, leave a small opening in the bottom seam for turning the bag right side out.
Create the Boxed Corners:
Follow the same steps as in the previous instructions to create boxed corners.
Finish the Bag:
If using a lining, turn the bag right side out through the opening in the bottom seam.
Hand-stitch the opening closed if using a lining.
Trim any loose threads and give your bag a final press with the iron.
Add Velcro or buttons for optional closures if desired.

